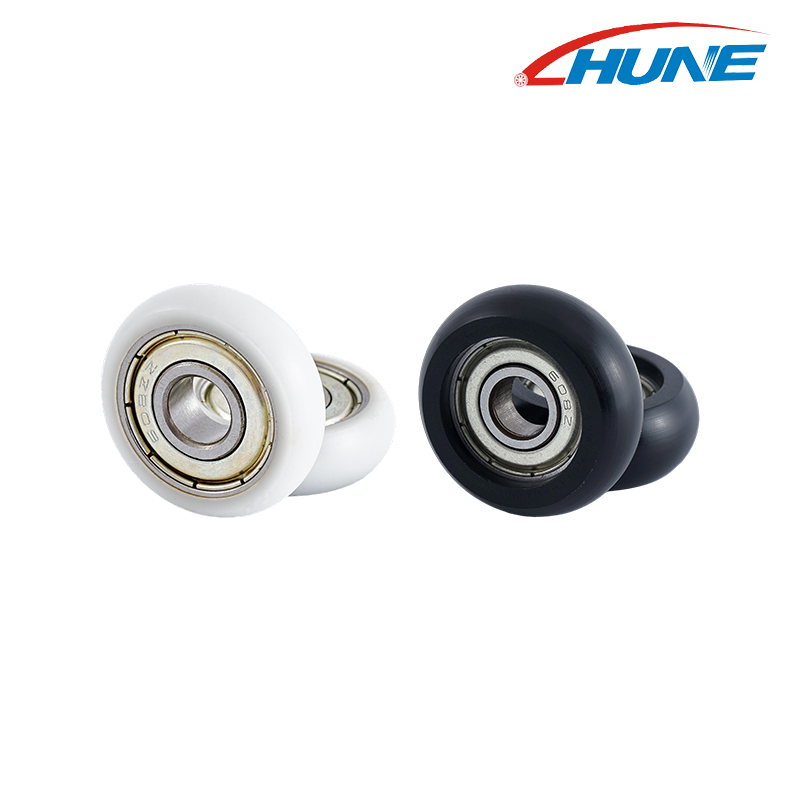
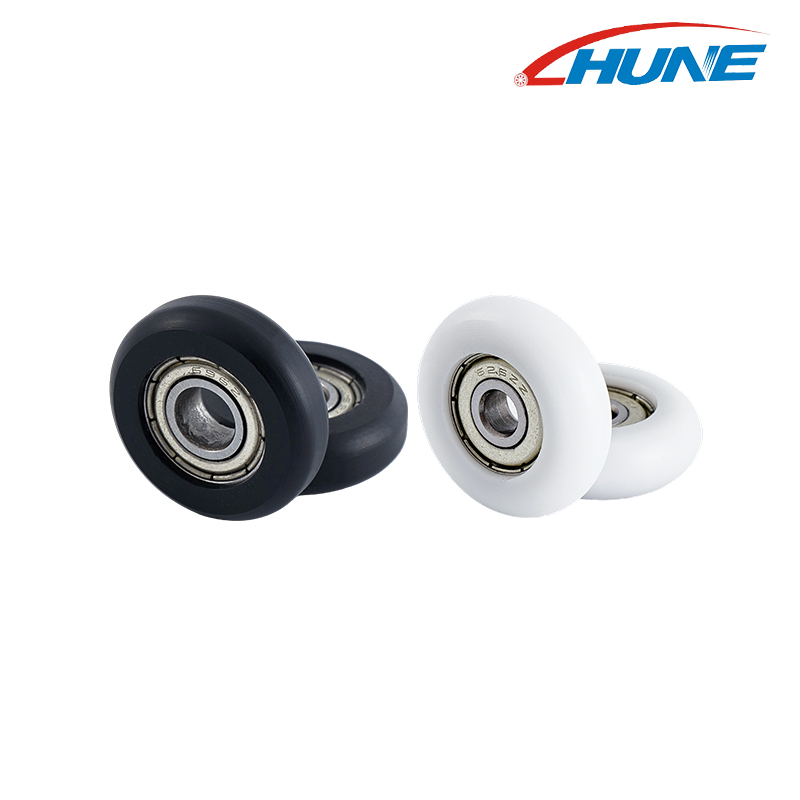
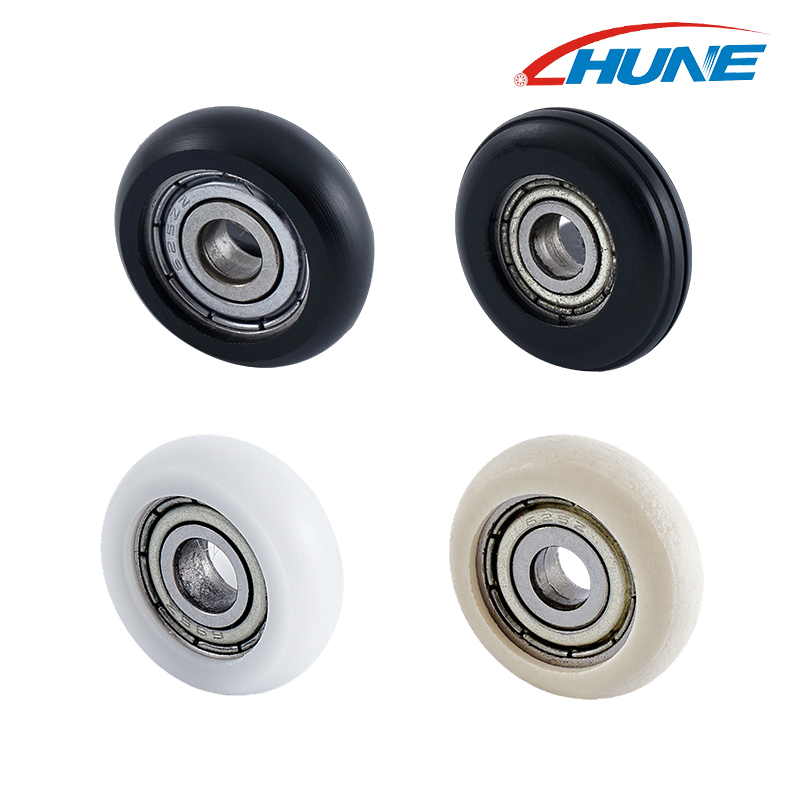
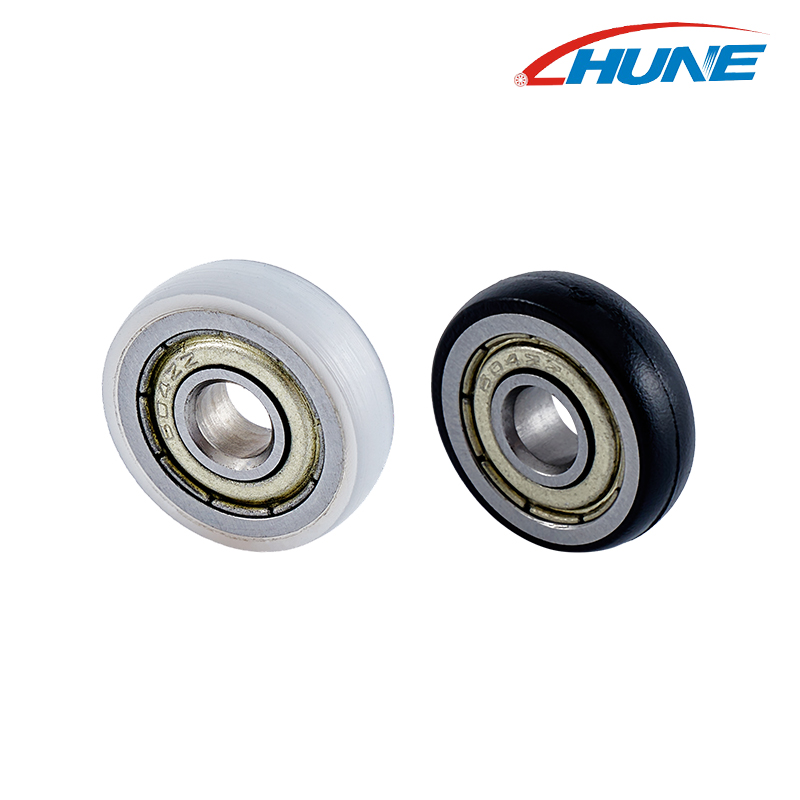
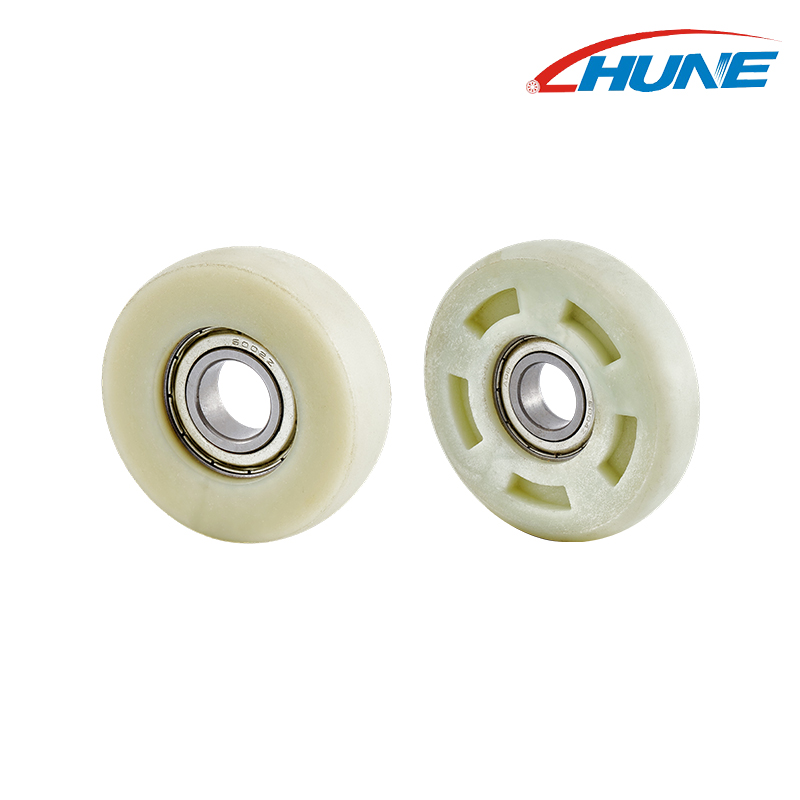
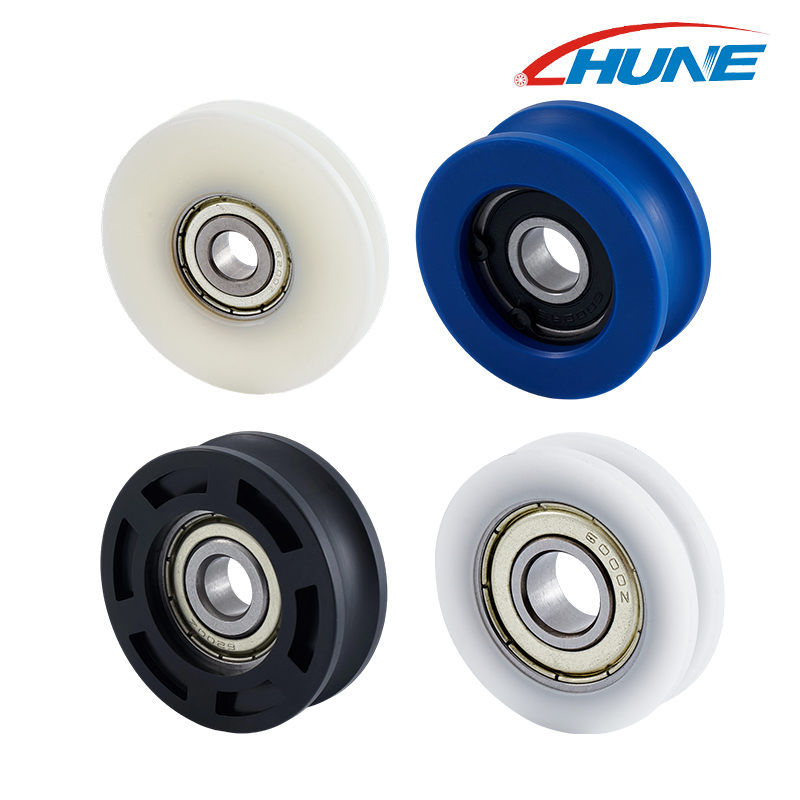
Aluminum sliding windows are a popular choice for both residential and commercial buildings due to their sleek design and easy operation. However, as with any mechanical system, wear and tear over time can lead to issues. One of the most common problems is worn-out rollers, which can hinder the smooth operation of the window, making it difficult to open or close.
Aluminum sliding windows are a popular choice for both residential and commercial buildings due to their sleek design and easy operation. However, as with any mechanical system, wear and tear over time can lead to issues. One of the most common problems is worn-out rollers, which can hinder the smooth operation of the window, making it difficult to open or close.
If your aluminum sliding window shows any of the following signs, it's time to replace the rollers:
- Difficulty sliding or sticking.
- Squeaking or grinding noises.
- Visible damage like cracks or chips.
- Window doesn't stay in place or is misaligned.
- Track damage due to excessive friction.
- Excessive dust or debris buildup.
Replacing worn rollers restores smooth operation, enhances energy efficiency, and prevents further damage to the window system. Don't wait for bigger issues—address roller problems early for optimal performance.
Tools and Materials Needed for the Job
Replacing the rollers on your aluminum sliding window is a straightforward DIY task, but having the right tools and materials at hand can make the process smoother and more efficient. Here's a list of essential tools and some optional materials that will help you get the job done.
Essential Tools
- Screwdrivers:
- A flathead screwdriver or Phillips-head screwdriver is necessary for removing screws that hold the window in place. Make sure to choose the right size to avoid stripping the screws.
- Pliers:
- Pliers are useful for handling the rollers, especially if they are difficult to grip or remove. They will also help with removing any stubborn screws or hardware.
- Replacement Rollers:
- The most critical material for the job is the replacement rollers. You will need to choose the right size and type of rollers for your window model. Measure the diameter and width of the old rollers to ensure you purchase compatible replacements.
- Rubber Mallet or Hammer:
- A rubber mallet is helpful for gently tapping the window into place when reinstalling it into the tracks. If you don’t have a rubber mallet, a regular hammer with a soft cloth can serve the same purpose.
- Utility Knife:
- Sometimes the window frame or track can accumulate dirt or debris. A utility knife is useful for cleaning out old debris or cutting off any extra caulking or weather stripping.
Window Roller Replacement Tools:
|
Tool |
Purpose |
|
Screwdrivers |
Remove screws with the right size to avoid stripping. |
|
Pliers |
Grip and remove rollers or stubborn screws. |
|
Replacement Rollers |
Match size and type with your window. |
|
Rubber Mallet |
Tap window gently into place. |
|
Utility Knife |
Clean debris or trim excess caulking. |
Optional Tools and Materials for a Smoother Process
- Lubricant:
- Applying lubricant to the tracks and rollers can help reduce friction and ensure that the new rollers slide smoothly. A silicone-based lubricant is ideal for use on sliding windows as it doesn't attract dust and grime.
- Cleaning Supplies:
- Before installing new rollers, it's a good idea to clean the window tracks. Use a brush or vacuum cleaner to remove dirt and debris, and then wipe down the area with a cloth. This ensures that the new rollers will slide smoothly without interference.
- Measuring Tape:
- If you're unsure of the roller size, a measuring tape will help you get accurate measurements of the existing rollers. This ensures you purchase the correct replacement and avoids the hassle of returning incorrectly sized rollers.
- Replacement Track Pieces (Optional):
- In some cases, the track itself may be worn out, which can affect the performance of the new rollers. If you notice any damage to the track during the removal process, you may need to replace the track as well.
- Safety Gear:
- Although replacing window rollers is generally safe, wearing gloves and safety goggles can help protect your hands and eyes from debris, sharp edges, or falling glass while working with the window.
Essential Tools:
|
Tool/Material |
Purpose |
|
Lubricant |
Silicone-based for smooth, dust-free sliding. |
|
Cleaning Supplies |
Brush and wipe tracks before installing. |
|
Measuring Tape |
Ensure correct roller size. |
|
Replacement Tracks |
Replace if damaged. |
|
Safety Gear |
Wear gloves and goggles for protection. |
A Step-by-Step Guide to Replace Aluminum Sliding Window Rollers

Step 1: Preparing for Roller Replacement
Proper preparation is key to ensuring a smooth and efficient roller replacement process for your aluminum sliding window.
Safety Precautions and Preparation
Safety is always the top priority. Before starting the replacement, take a few moments to protect yourself and your surroundings:
- Wear Protective Gloves: Sliding window frames and glass can have sharp edges that may cause injury. A good pair of work gloves will protect your hands from cuts or scrapes during the removal and installation of the window.
- Use Safety Goggles: If you're using tools such as a hammer or pliers, debris may fly off during the process. Safety goggles will help shield your eyes from flying debris.
- Check the Window for Stability: Aluminum sliding windows can be heavy. Ensure the window is securely locked in place before attempting to remove it. If it's loose or misaligned, make sure it is properly supported to avoid accidental dropping.
- Keep Tools Organized: Having a toolbox or a designated area for your tools will keep them easily accessible and organized, reducing the risk of mishaps.
Clearing the Area Around the Window
A clutter-free workspace is essential for safety and efficiency:
- Move Obstructions: Clear the area around the window, including furniture or decorative items, to ensure you have ample space to work. This prevents accidental damage to your surroundings.
- Protect the Floor: Place a drop cloth or old towels on the floor beneath the window. This will catch any dirt, debris, or fallen parts and prevent scratching the flooring or creating a mess.
- Check the Window Tracks: Before removing the window, make sure the tracks are clear of any dirt or obstructions that might interfere with the movement of the window.
Understanding the Window Frame and Roller Mechanism
To ensure you don't damage the window or the track, it's important to understand the structure of the window:
- Inspect the Frame and Track: Carefully examine the window frame and track. Identify where the rollers are attached, and determine if there is any wear and tear on the track that could affect the installation of new rollers.
- Locate the Rollers: Depending on your window design, the rollers may be located at the bottom or top of the window. Knowing their position will help guide you when removing and replacing them.
- Check for Debris or Obstructions: Dust, dirt, or old lubricant can obstruct the smooth functioning of the rollers. Clean the track thoroughly using a soft cloth or a vacuum before starting the replacement process.
- Prepare for Roller Removal: Familiarize yourself with the mechanism that holds the rollers in place. Some windows have clips or screws that need to be removed before you can detach the rollers, while others may have a more complex setup. Knowing this will allow you to plan your next steps effectively.
Step 2: Removing the Aluminum Sliding Window
Successfully removing the aluminum sliding window is crucial to gaining access to the rollers for replacement. This step requires careful attention to ensure the window is removed safely and without damage.
How to Safely Remove the Window from Its Track
- Unlock the Window: Before removing the window, make sure it is fully unlocked. If the window is secured with any additional latches or locks, disengage them to avoid stress or damage to the mechanism during removal.
- Lift the Window Out of the Track:
- Lower the window into a vertical position (if possible) to align the rollers with the top and bottom tracks.
- Carefully tilt the window slightly inward, ensuring it is balanced as you begin to lift it.
- Lift the window straight up to release the rollers from the track. Most windows are designed to be removed by lifting them vertically from the track. However, some windows may have a latch mechanism or an additional locking system that you will need to unlock first.
- Support the Window: Aluminum sliding windows can be heavy, so it's crucial to securely support the window as you remove it. If the window is large, having a second person assist can help prevent the window from falling or getting damaged during removal.
- Remove the Window from the Track: Once the window is free from the track, carefully set it aside on a soft surface like a drop cloth, which will help prevent scratches and damage to the glass or frame.
Common Challenges and How to Address Them
- Stuck Rollers:
- Sometimes, the rollers can become stuck or jammed in the track, making it difficult to lift the window. This is often caused by dirt, debris, or corrosion in the track.
- Solution: Clean the track thoroughly using a vacuum or brush to remove any debris. If the rollers are still stuck, gently tap them with a rubber mallet to loosen them, being careful not to damage the frame.
- Misaligned Window:
- If the window is misaligned or off-center in the track, it may be difficult to lift it out. This can happen due to previous damage or wear.
- Solution: Carefully adjust the window to a more even position in the track before attempting to lift it. You may need to adjust the height or angle slightly to ensure the rollers are aligned with the top and bottom tracks.
- Frozen or Rusted Components:
- Exposure to weather elements or moisture can cause the rollers, screws, or tracks to rust or become stiff, making the removal process challenging.
- Solution: Apply a lubricant or WD-40 to any rusted parts to loosen them. Let it sit for a few minutes before attempting to remove the window again. If needed, use pliers to loosen any stubborn screws or hardware.
- Heavy or Large Windows:
- Larger aluminum windows can be quite heavy, making removal difficult without help.
- Solution: Always enlist help if the window is heavy or bulky. Have a second person support the window as you lift it to prevent injury or damage.
- Track Obstructions:
- Sometimes, the track itself may be obstructed by debris, dirt, or old weatherstripping, which can hinder the window's movement.
- Solution: Before removing the window, inspect the track and clear it of any obstructions using a soft cloth or a small cleaning brush.
Step 3: Removing the Old Rollers
Once you have successfully removed the aluminum sliding window, the next step is to remove the old rollers. This process requires precision and care to avoid damaging the window frame or track.
Locating the Roller Mechanism
Before removing the rollers, it's important to locate where they are situated within the window. The rollers are usually located at the bottom of the window, but the exact placement can vary depending on your window model.
- Identify Roller Placement:
- Most aluminum sliding windows have two rollers—one on each side of the bottom frame. Look for the roller mechanism that is attached to the window frame.
- Check for Any Covers or Panels:
- Some window designs may include cover panels or dust covers over the rollers. Use a flathead screwdriver or plastic trim removal tool to gently pry off any covers, exposing the roller mechanism beneath.
- Examine the Roller Mechanism:
- Once the covers are removed, inspect the roller assembly to determine if it's secured by screws, clips, or a simple snap-fit mechanism. Understanding how the roller is attached will help you in the next steps of detaching it.
How to Detach the Old Rollers
Once you've located and examined the roller mechanism, the next step is to detach the old rollers.
- Loosen and Remove Screws:
- Most rollers are secured with screws that need to be unscrewed to release the roller. Use a Phillips-head or flathead screwdriver, depending on the type of screws.
- Tip: Keep track of the screws to ensure you don't lose them. Place them in a small container or tape them to a piece of paper.
- Gently Remove the Roller:
- Once the screws are removed, carefully pull the roller out of the roller mechanism. You may need to gently wiggle it back and forth to loosen it from the track, but avoid using excessive force to prevent damaging the window frame.
- Check the Roller Mechanism:
- If the rollers don't come out easily, ensure the mechanism is fully detached. If there are clips or additional locks holding the roller in place, gently pry them off using pliers or a flathead screwdriver.
Tips for Dealing with Stuck or Difficult Rollers
In some cases, the old rollers may be stuck or difficult to remove due to accumulated debris, rust, or wear over time. Here are some helpful tips to overcome these challenges:
- Apply Lubricant:
- If the rollers are stuck due to rust or dirt buildup, apply a penetrating lubricant such as WD-40 or a silicone-based spray to the roller assembly. Let it sit for a few minutes to loosen any debris or rust. This will make it easier to remove the roller.
- Use Pliers for Stubborn Rollers:
- If the roller is not coming loose, try using pliers to gently grip the roller and pull it out. Be careful not to damage the frame or the roller itself.
- Gently Tap with a Rubber Mallet:
- If the roller is stuck in place, you can use a rubber mallet to gently tap the side of the roller assembly. Tap in small, controlled motions to avoid damaging the frame or the roller mechanism.
- Heat the Area:
- If you're dealing with stubborn or rusted parts, warm the roller assembly gently with a hair dryer. Heat can help loosen stuck parts, making it easier to detach the roller.
- Be Patient and Gentle:
- Avoid using excessive force to remove stuck rollers, as this can cause damage to both the rollers and the window frame. Patience and gentle pressure will often solve the issue without causing harm.
Step 4: Installing the New Rollers
Installing the new rollers is a critical step in ensuring your aluminum sliding window operates smoothly. Proper positioning and installation are essential for optimal performance and longevity.
How to Position the New Rollers Correctly
- Check the Roller Size and Type:
- Before installation, confirm that the new rollers match the size and design of the old rollers. Measure the diameter and width of the previous rollers to ensure you purchase compatible replacements.
- Tip: Double-check the roller material (nylon, steel, or plastic) to ensure it matches your window’s requirements. The right material will affect durability and noise reduction.
- Position the Rollers in the Mechanism:
- Place each new roller into its corresponding roller assembly. Make sure the rollers are aligned properly within the track mechanism and that they sit securely in place. The rollers should be positioned so that they are flush with the frame and evenly spaced for balanced weight distribution.
- Secure the Rollers:
- Once positioned correctly, secure the rollers by tightening the screws or clips that hold them in place. Ensure the screws are fastened snugly but not over-tightened, as this can damage the roller assembly or affect the smooth movement of the window.
- Check Roller Movement:
- After securing the rollers, manually move the roller mechanism back and forth to check for any resistance or misalignment. The rollers should rotate freely without wobbling or binding. If there's any resistance, double-check the alignment and make adjustments as needed.
Ensuring Smooth Operation During Installation
- Lubricate the Rollers and Track:
- Before installing the window back into the track, apply a silicone-based lubricant to both the rollers and the window track. This will ensure a smooth glide when the window is reinstalled. Avoid using greasy lubricants, as they can attract dirt and debris, leading to a buildup that will affect the window's performance.
- Clean the Track Thoroughly:
- Make sure the window track is free of any dirt or debris. Use a soft brush or vacuum to remove any dust or particles that could cause friction or damage the rollers. A clean track ensures smooth movement and helps the new rollers perform better.
- Test the Rollers:
- Once the rollers are installed and the window is back in place, perform a test run. Open and close the window several times to check that the rollers are functioning properly. There should be no dragging, squeaking, or binding. The window should glide smoothly with minimal effort.
- Ensure Proper Alignment:
- As you test the window, make sure the window frame is aligned properly with the track. Misalignment can lead to unnecessary wear on the rollers or even cause the window to come off track. Adjust the window height or angle if needed to achieve perfect alignment.
- Check for Secured Fixings:
- After testing the rollers, make sure all screws and attachments are tightened properly. Loose fixings can cause the rollers to shift out of position, impacting the window's functionality.
- Reinstall the Window:
- Once the new rollers are correctly positioned and tested, carefully reinstall the window into the tracks. Ensure the window is properly placed and that the rollers sit securely within the track system.
Step 5: Reinstalling the Window into the Track
Once the new rollers are installed, the next step is to carefully reinstall the window into the track. This process requires attention to detail to ensure proper alignment and smooth operation.
Steps for Carefully Placing the Window Back into the Track
- Lift the Window Carefully:
- With the new rollers in place, carefully lift the window into the track. Start by positioning the bottom of the window first, ensuring that the rollers are aligned with the bottom track.
- Tip: If your window is heavy or large, consider enlisting a second person to help with the lifting to avoid injury or damage to the window.
- With the new rollers in place, carefully lift the window into the track. Start by positioning the bottom of the window first, ensuring that the rollers are aligned with the bottom track.
- Align the Rollers with the Track:
- Slowly slide the window into the track while ensuring the rollers are properly aligned with the track system. The rollers should fit smoothly into place without force. Ensure both the top and bottom rollers are correctly seated in their respective tracks before proceeding.
- Lower the Window into Position:
- Gently lower the window into the track until it is fully in place. Make sure the window slides evenly into the track, ensuring the bottom rollers are seated securely in the track.
- Tip: Check that the window is level and balanced as you lower it into position to avoid misalignment.
- Gently lower the window into the track until it is fully in place. Make sure the window slides evenly into the track, ensuring the bottom rollers are seated securely in the track.
- Secure the Window in Place:
- Once the window is seated properly in the track, secure it by reattaching any fasteners or screws that hold the window in position. Depending on your window design, you may need to replace clips, latches, or additional securing screws that were removed during the disassembly.
Checking Alignment and Function
- Test the Window Movement:
- After reinstalling the window, perform a test run by opening and closing the window several times. Pay attention to the smoothness of the movement. The window should glide effortlessly, with no dragging or sticking. If the window feels difficult to move or makes noises, it may need to be adjusted.
- Ensure Proper Alignment:
- Check that the window is aligned correctly in the track. The window frame should be parallel to the wall, and the rollers should be seated evenly in the track. If the window is misaligned, adjust the height or angle slightly to ensure it moves smoothly along the track.
- Check the Locking Mechanism:
- Once the window is functioning smoothly, ensure the locking mechanism is working properly. Test the locks to confirm they engage securely when the window is closed. This step is crucial for both security and insulation.
- Inspect for Any Gaps:
- After reinstalling the window, inspect the window for any gaps or areas where it may not be sealing correctly. Check the edges for weatherstripping and ensure the window closes tightly to help with energy efficiency. If necessary, replace old weatherstripping or apply a sealant around the frame.
- Final Check for Stability:
- Give the window a final check to ensure it is properly seated and that all fasteners are tightened. The window should be stable and secure, with no wobbling or looseness in the frame. If the window seems unstable, double-check the roller installation and alignment.
Step 6: Testing the Sliding Window's Functionality
Once the window is reinstalled and secured, the final step is to test the window's functionality. This ensures that the new rollers are working correctly and that the window operates smoothly. A thorough test helps identify any potential issues early, allowing you to make the necessary adjustments for optimal performance.
How to Test Smooth Operation and Check for Issues
- Open and Close the Window:
- Begin by gently opening and closing the window several times. Pay attention to how the window moves along the track:
- The window should glide smoothly without any resistance.
- Listen for any squeaks, grinding sounds, or unusual noises that may indicate friction or misalignment.
- Ensure the window doesn't feel wobbly or unstable in the track.
- Check for Sticking or Dragging:
- If the window feels like it's sticking or dragging, this could be a sign of misalignment, incorrect roller installation, or debris in the track. Make sure the rollers are properly seated and the track is clean. You may need to remove the window and adjust the roller alignment if necessary.
- Test the Locking Mechanism:
- After verifying smooth movement, check that the locking mechanism functions correctly. When you close the window, engage the locks and make sure they secure tightly without difficulty. If the locks aren't engaging properly, the window may be misaligned or the locking mechanism might need adjustment.
- Inspect for Gaps or Drafts:
- Run your hand along the edges of the window to feel for any gaps or drafts. A properly sealed window should close without leaving noticeable spaces around the edges. If you detect any gaps, the weatherstripping may need to be replaced, or the window may need slight adjustment for a better seal.
Final Adjustments for Optimal Performance
- Adjust the Rollers for Smoothness:
- If the window is still difficult to slide or doesn't glide smoothly, you may need to adjust the roller height or tension. Most sliding window rollers have an adjustment screw that allows you to raise or lower the roller.
- Tip: Adjust the rollers in small increments and test the window after each adjustment to avoid overcompensating.
- If the window is still difficult to slide or doesn't glide smoothly, you may need to adjust the roller height or tension. Most sliding window rollers have an adjustment screw that allows you to raise or lower the roller.
- Ensure Proper Alignment:
- If the window is off-center or misaligned, slightly adjust the window's positioning within the track. Check that the top and bottom rollers are aligned correctly with the track and that the window is sitting flush in the frame.
- Tighten All Fasteners:
- Double-check that all screws, clips, and fasteners are securely tightened. Loose fasteners can cause instability and affect the window's movement. Tighten any screws that may have become loose during the installation process.
- Lubricate the Track and Rollers:
- If the window still isn't sliding as smoothly as you'd like, apply a small amount of silicone-based lubricant to the rollers and the track. This will reduce friction and improve movement. Avoid greasy lubricants, as they can attract dirt and debris over time.
- Final Clean-Up:
- Clean the window track and frame to remove any dust or debris that may have accumulated during installation. A clean track promotes smooth operation and ensures longevity for the rollers and window frame.
A Step-by-Step Guide to Replace Aluminum Sliding Window Rollers
|
Step |
Instructions |
|
Step 1: Preparation |
Safety: Wear gloves and goggles. Workspace: Clear area and protect the floor. |
|
Step 2: Remove the Window |
Unlock and lift to free rollers. Support with help if heavy. |
|
Step 3: Remove Old Rollers |
Unscrew and detach rollers. Use lubricant for stuck rollers. |
|
Step 4: Install New Rollers |
Align and secure rollers. Lubricate and test for smooth movement. |
|
Step 5: Reinstall Window |
Align and lower window into track. Secure and test for smooth operation. |
Common Mistakes to Avoid When Replacing Sliding Window Rollers
1. Over-tightening or Damaging the Window Frame
Over-tightening screws can distort the window frame, affecting smooth movement. Tighten screws snugly but avoid excessive force to prevent damage.
2. Installing the Wrong Size Rollers
Using incorrect roller sizes can cause misalignment or unstable movement. Measure the old rollers carefully and choose replacements that match the exact size.
3. Failing to Properly Align the Rollers
Misaligned rollers lead to poor sliding performance. Ensure proper alignment by seating rollers evenly and testing window movement after installation.
Enjoying Your Newly Replaced Sliding Window Rollers
- Tips for Long-Term Maintenance
- Regular Cleaning: Clean the track and rollers to remove dirt and debris that can hinder performance.
- Lubricate Rollers: Use a silicone lubricant to keep rollers gliding smoothly.
- Inspect Rollers: Regularly check for wear and damage, replacing rollers if needed.
- Adjust Rollers: If the window drags, make minor height adjustments using the roller screws.
- Avoid Overloading: Prevent excessive pressure on the window to avoid damaging the rollers.
Replacing sliding window rollers doesn't have to be a complicated process. By following these steps and avoiding common mistakes, you’ll ensure your sliding windows operate smoothly and efficiently for years to come. Regular maintenance and the right adjustments will keep your rollers performing like new.
At Hune Sliding Window Roller Factory, we specialize in high-quality rollers designed to enhance the durability and functionality of your windows. If you ever need expert advice or high-performance rollers, we're here to help.
Happy DIY-ing, and enjoy the improved performance of your sliding windows!


 English
  Español
  日本語
日本語 