English
  Español
  日本語
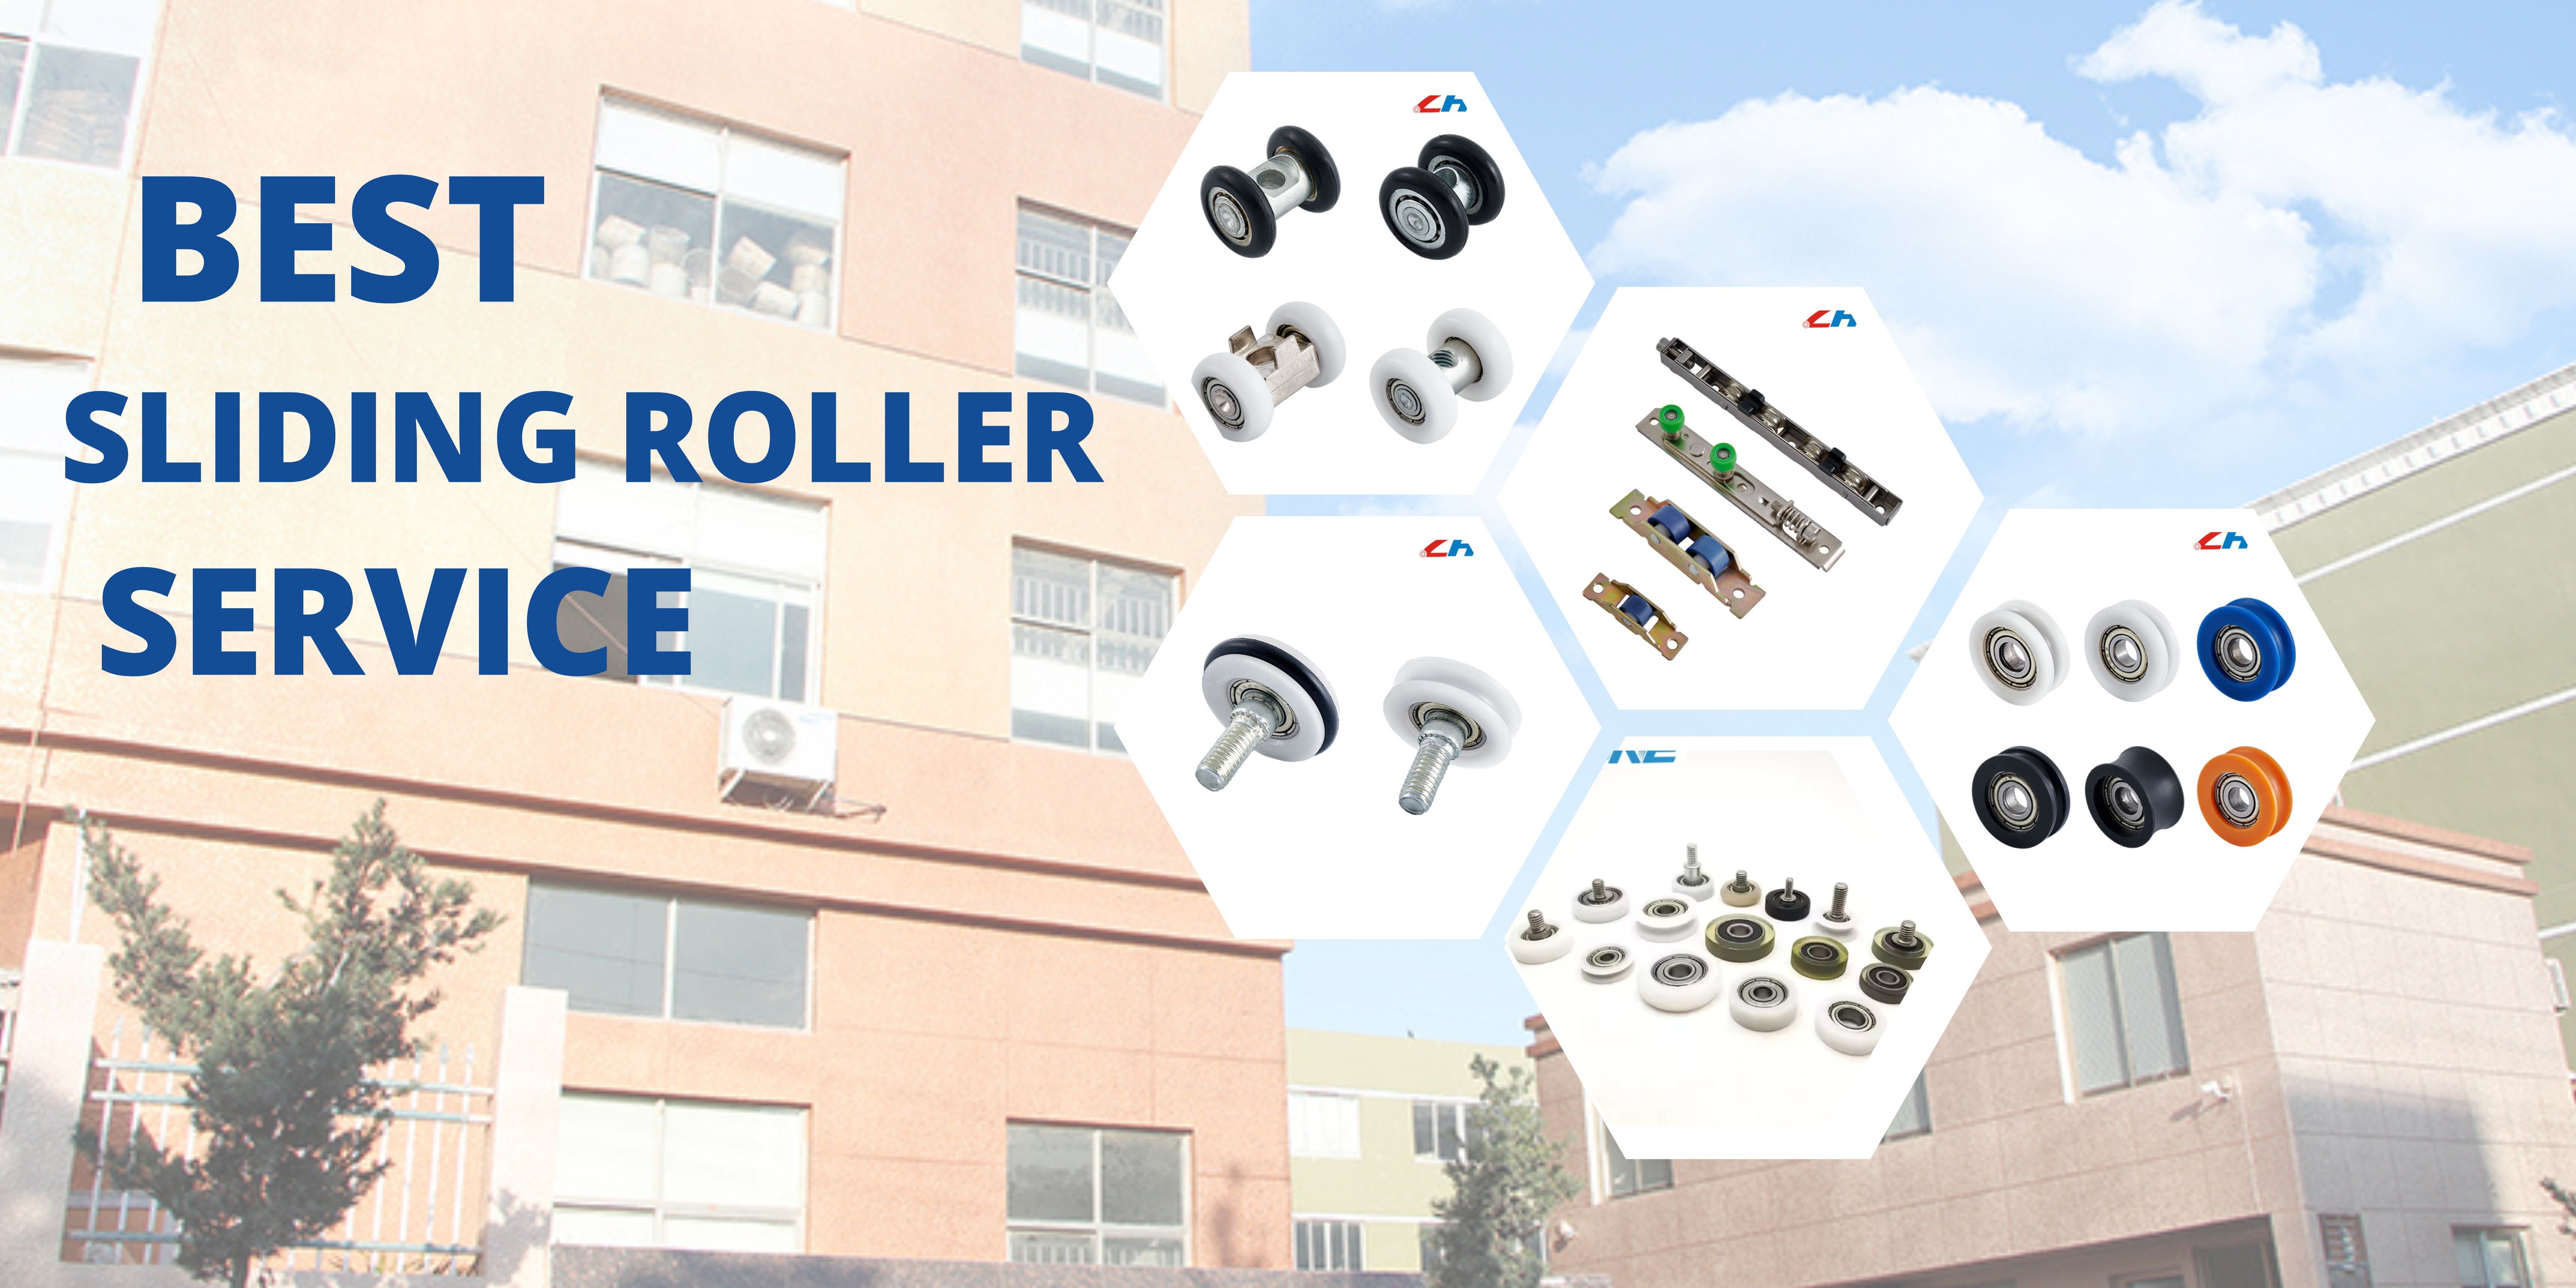
日本語 Sliding doors are a staple in modern bathrooms, offering a sleek look, space-saving convenience, and easy access to showers or bathtubs. However, the smooth operation of these doors heavily depends on the rollers—the small yet critical components that allow your door to glide effortlessly. Understanding their importance and knowing when to replace them can prevent costly repairs and improve everyday usability.
Why Sliding Door Rollers Matter?
|
Importance |
Details |
|
Smooth Movement |
Rollers reduce friction and enable the door to glide easily along the track. |
|
Noise & Vibration Reduction |
High-quality rollers minimize noise and vibrations during operation. |
|
Proper Alignment |
Maintains door alignment, preventing uneven wear on the track and frame. |
|
System Longevity |
Prevents damage to tracks and frames, extending the lifespan of the entire sliding door system. |
|
Maintenance Warning |
Neglecting roller maintenance or delaying replacement can lead to performance issues, affecting safety and convenience. |
Why Replace Sliding Door Rollers?
Over time, bathroom sliding door rollers can wear out due to frequent use, moisture, and exposure to cleaning chemicals. Replacing them can solve several common issues:
1. Difficulty Opening or Closing the Door
- Worn-out rollers create resistance, making it hard to slide the door. This increases strain on the door frame and track, potentially causing further damage over time.
2. Door Sticking or Dragging on the Track
- Damaged rollers often result in uneven movement, causing the door to stick or drag along the track. This not only affects functionality but also increases wear on other components.
3. Noise Issues: Grinding or Squeaking
- Squeaky or grinding sounds during operation are a clear indication that the rollers are failing. Replacing worn rollers restores smooth, quiet movement, enhancing your bathroom experience.
4. Door Misalignment or Rattling
- Faulty rollers can throw the door off its track, causing misalignment and rattling. This compromises both usability and safety, as a misaligned door may not close properly or could become unstable.
Tools Needed for Replacing Sliding Door Rollers
Replacing sliding glass door rollers is a straightforward task if you have the right tools on hand. Understanding which tools are necessary ensures a smooth and efficient repair process.
Essential Tools for Replacing Sliding Door Rollers
Replacing sliding door rollers is a straightforward task when you have the right tools. Using proper tools ensures a safer, faster, and more effective installation while protecting the door, track, and frame. Below is a detailed guide to the essential tools you’ll need, along with optional tools that can make the process even smoother.
1. Screwdrivers (Phillips and Flathead)
- Purpose: Remove screws from the door frame or roller housing.
- Tip: Keep a variety of sizes to accommodate different screw types commonly used in sliding doors.
2. Pliers
- Purpose: Grip, twist, or remove small components such as pins, clips, or old roller assemblies.
- Tip: Needle-nose pliers are ideal for reaching tight spaces and handling small parts.
3. Lubricant
- Purpose: Reduce friction during roller removal and installation, ensuring smooth sliding operation.
- Tip: Avoid petroleum-based lubricants on tracks, as they can attract dust and debris.
4. Replacement Rollers
- Purpose: The most critical component—ensure you have rollers that match your door model and weight specifications.
- Tip: Determine whether your door requires ball bearing, nylon, or adjustable tandem rollers for optimal performance.
5. Measuring Tape
- Purpose: Measure roller dimensions and track width to ensure correct replacement parts.
- Tip: Accurate measurements prevent ordering the wrong rollers, saving time and money.
6. Flat Pry Bar or Putty Knife
- Purpose: Gently lift the door from the track to access the rollers.
- Tip: Use caution to avoid scratching the glass, frame, or track during removal.
7. Work Gloves and Safety Glasses
- Purpose: Protect hands and eyes while handling heavy glass doors and tools.
- Tip: Sliding doors are heavy and can cause injury if mishandled, so safety gear is essential.
Essential Tools for Sliding Door Roller Replacement
|
Tool |
Purpose |
Tip |
|
Screwdrivers (Phillips and Flathead) |
Remove screws from the door frame or roller housing. |
Keep a variety of sizes to accommodate different screw types commonly used in sliding doors. |
|
Pliers |
Grip, twist, or remove small components such as pins, clips, or old roller assemblies. |
Needle-nose pliers are ideal for reaching tight spaces and handling small parts. |
|
Lubricant |
Reduce friction during roller removal and installation, ensuring smooth sliding operation. |
Avoid petroleum-based lubricants on tracks, as they can attract dust and debris. |
|
Replacement Rollers |
Ensure you have rollers that match your door model and weight specifications. |
Determine whether your door requires ball bearing, nylon, or adjustable tandem rollers for optimal performance. |
|
Measuring Tape |
Measure roller dimensions and track width to ensure correct replacement parts. |
Accurate measurements prevent ordering the wrong rollers, saving time and money. |
|
Flat Pry Bar or Putty Knife |
Gently lift the door from the track to access the rollers. |
Use caution to avoid scratching the glass, frame, or track during removal. |
|
Work Gloves and Safety Glasses |
Protect hands and eyes while handling heavy glass doors and tools. |
Sliding doors are heavy and can cause injury if mishandled, so safety gear is essential. |
Optional Tools for a Smoother Installation
- Rubber Mallet: Helps seat new rollers into the housing without damaging the door or frame.
- Vacuum or Brush: Cleans debris from tracks before installing new rollers, ensuring smoother operation.
- Level: Confirms door alignment after roller installation for optimal performance.
How to Safely Remove and Replace Sliding Door Rollers?
Replacing them correctly ensures optimal performance, reduces strain on the door frame, and prolongs the system's life. The process begins with safely removing the door and ends with precise roller installation.
Step 1: Safely Removing a Sliding Door
- Before replacing rollers, the door must be carefully removed from its track to avoid damage to the glass, frame, or surrounding area.
Step-by-Step Door Removal
- Clear the Work Area
- Remove furniture, rugs, or other obstacles near the door. Place a soft blanket or foam pad on the floor to safely rest the door once removed.
- Locate and Remove the Door Stop
- Sliding doors often have a metal stop or bracket at the top to prevent outward swinging. Use a screwdriver to remove screws and set the stop aside safely.
- Adjust the Rollers Downward
- Turn the roller adjustment screws at the bottom of the door using a screwdriver. Lowering the rollers makes lifting the door from the track easier.
- Lift the Door Out of the Track
- Open the sliding panel halfway. Grip both sides firmly, lift the door into the upper track to disengage the bottom rollers, then tilt the bottom outward and lower it gently onto the prepared surface.
- Lay the Door Down Securely
- Position the door with the interior side facing up on the soft surface. Avoid hard surfaces to prevent cracking or breaking the glass.
Step 2: Replacing Sliding Door Rollers
- Once the door is safely removed, you can replace the rollers. Proper installation ensures smooth operation, reduces stress on the frame, and extends the life of your sliding door system.
Step-by-Step Roller Replacement
- Locate the Roller Housing
- Rollers are usually located at the bottom corners of the door. Remove screws on the roller brackets or faceplates to access the rollers.
- Remove the Old Rollers
- Carefully slide or lift out the worn rollers. If they are stuck due to rust or debris, use a flathead screwdriver to gently lever them out. Note their orientation for accurate replacement.
- Check the New Roller Size and Condition
- Compare the new rollers with the old ones to ensure they match in size, shape, and mounting style. Some assemblies may require minor adjustments to height or screw positioning.
- Install the New Rollers
- Insert the new rollers into the housing, ensuring they move freely and sit evenly. Secure them with screws, taking care not to overtighten and restrict movement.
- Test Roller Movement
- Rotate or spin the rollers by hand to confirm smooth operation. If you feel resistance or wobble, adjust positioning before reinstalling the door.
Adjusting Sliding Door Rollers for Smooth Operation
Replacing the rollers on a sliding door is only part of the process. Proper adjustment of the rollers is essential to ensure smooth, quiet movement, prevent frame or track damage, and extend the lifespan of your door system. A well-aligned roller setup allows the door to glide effortlessly while evenly distributing its weight.
Step-by-Step Guide to Adjust Sliding Door Rollers
1. Reposition the Door in the Track
- Insert the top edge of the door into the upper track first.
- Tilt the bottom into position and lower it carefully onto the bottom track.
- Ensure the rollers sit fully on the rails and are not misaligned before proceeding.
2. Locate the Adjustment Screws
- These screws are usually positioned at the bottom edge of the sliding panel, often hidden behind small plugs or cut-outs.
- Use a screwdriver to access and turn the adjustment screws.
3. Raise or Lower the Door
- Turn clockwise to raise the door.
- Turn counterclockwise to lower it.
- Adjust both sides evenly until the door glides smoothly and sits level within the frame.
4. Test the Door Movement
- Slide the door back and forth multiple times.
- It should move effortlessly, without wobbling, scraping, or binding on the track.
- Fine-tune the roller screws as needed to achieve perfect alignment.
Adjusting sliding door rollers is a crucial final step after replacement. By carefully leveling and aligning the rollers, you ensure effortless gliding, quiet operation, and long-term durability. Combined with routine maintenance such as track cleaning and inspection, proper roller adjustment can extend the life of your sliding door system for years to come.


")