

 English
 Español
 日本語
A sliding screen door often gives you a warning before it stops working properly. It may take more effort to open, scrape along the bottom, or make a faint rattling sound as it moves. Sometimes the problem is a dirty track. In other cases, the rollers underneath the door have worn down, shifted, or stopped turning as they should.
Replacing the rollers can restore the door's movement, but getting the new parts into place is only half the job. They also need to sit correctly in the frame and follow the track without creating extra friction. A poorly fitted roller can leave the door just as difficult to use as it was before.
The process is fairly straightforward once you understand how the roller assembly is attached and adjusted. The details vary between screen door designs, so take a close look at the existing hardware before removing anything.
Start With the Signs of Roller Wear
Not every stiff screen door needs new rollers. Dirt packed into the track, a bent frame, or a loose fitting can produce similar symptoms. A quick inspection can help you avoid replacing parts that are still in usable condition.
Look at how the door behaves during normal operation. Does it drag only near one end? Does the lower edge move unevenly? Can you hear a rough rolling sound? These small clues can help narrow down the cause.
Common signs of roller trouble include:
- A door that drags: The lower edge scrapes against the track or feels heavier than usual.
- Uneven sliding: The panel moves smoothly in one area but becomes difficult to move elsewhere.
- Rattling or grinding: The wheel or bearing may be worn, loose, or affected by debris.
- A door that wobbles: The panel shifts when you move it, suggesting that the rollers may not be supporting it evenly.
- Visible wheel damage: The running surface has chips, cracks, flat areas, or an uneven profile.
A damaged wheel is a clear reason to consider replacement. If the wheel looks sound, clean the track and check the frame before deciding what to do next.
Take a Look at the Existing Roller Before Buying a Replacement
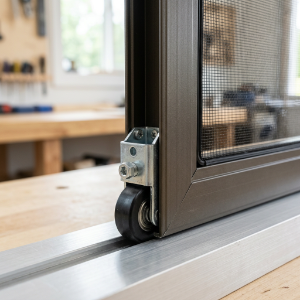
Sliding screen doors do not all use the same roller arrangement. Even parts that look alike at first glance may differ in their housing, mounting points, or adjustment mechanism.
Before ordering replacement rollers, inspect the lower corners of the door. You may find a roller assembly that can be removed as a compl
ete unit, or a design where the wheel is fitted into a separate housing.
Take a few photos while the original part is still installed. Include the position of the adjustment screw, the way the housing sits in the frame, and the direction the wheel faces. These details can be surprisingly helpful when it is time to fit the new part.
Details Worth Comparing
| Part Detail | What to Look For |
|---|---|
| Wheel profile | The shape of the running surface and how it meets the track |
| Housing | The form and position of the roller body |
| Mounting points | How the assembly attaches to the door |
| Bearing | The arrangement supporting wheel rotation |
| Adjustment feature | How the roller height or position is changed |
| Orientation | The direction the assembly faces when installed |
Avoid choosing a replacement based on general appearance alone. The wheel needs to match the track, and the assembly needs to fit the door. If the original part is difficult to identify, a clear photo or sample can help a supplier check compatibility.
Get the Door Ready for Removal
A screen door may be light, but its frame can twist if it is handled carelessly. The mesh is also easy to damage when the panel is placed on an unsuitable surface.
Clear the doorway and prepare a stable place to set the door down. A soft, flat protective surface can help prevent scratches and reduce pressure on the screen.
If the panel is awkward to lift, ask someone to help. Supporting both sides makes it easier to keep the frame straight while releasing it from the track.
Before starting, check whether the door has any retaining features or special removal instructions. Some designs come out with a simple lift-and-tilt movement, while others need a slightly different approach.
Removing the Old Roller Assembly
The usual process involves easing the roller pressure, lifting the door from the track, and releasing the old assembly. The exact steps depend on the door's construction.
1. Find the Roller Adjustment Screws
Look around the lower corners of the screen door for adjustment screws. On many designs, these control the position of the rollers and help set the door's height.
Use the correct tool and follow the direction appropriate to the mechanism. The intention is to reduce the roller's engagement with the track enough to make removal possible.
If a screw is stuck, do not force it. A damaged screw head or adjustment fitting can turn a simple repair into a more involved job.
2. Lift the Panel Out Carefully
With the panel supported, lift it gently to release the lower rollers from the track. Guide the bottom edge out only when it has cleared the frame.
Keep the movement controlled. Twisting the panel or pulling hard on one corner can distort the frame or damage the screen.
If the door does not release easily, stop and check for a retaining feature or another part of the frame that may still be holding it in place.
3. Remove the Worn Rollers
Place the door on the prepared surface and inspect how the roller is secured. Depending on the design, it may be held by screws, clips, or a fitted housing.
Remove the fasteners and keep them together in case they are intended for reuse. Take note of the original roller's orientation before taking it out. A quick photo at this stage can save time when the replacement goes in.
Look at the old wheel before discarding it. A worn running surface, rough bearing, or damaged housing may help explain why the door was difficult to move.
Fitting the Replacement Rollers
With the old assembly removed, compare it directly with the replacement. This is the point to catch a mismatch, not after the new part has been secured.
4. Check the New Part Against the Original
Set the two assemblies side by side. Compare their profiles, housings, mounting features, and adjustment arrangements.
A replacement may have a similar-looking wheel but a different mounting structure. It may also sit differently in the door frame, changing the way the wheel meets the track.
If anything looks noticeably different, check compatibility before continuing. Forcing an unsuitable part into the opening can damage the frame or leave the wheel out of alignment.
5. Install the New Assembly
Position the replacement in the same orientation as the original, unless the door's instructions specify another arrangement.
Line up the mounting features and secure the assembly using the intended hardware. The roller should sit properly in its housing without being twisted or forced into position.
Tighten the fasteners securely, but do not use excessive force. Over-tightening can damage the mounting area or interfere with parts that need to move during adjustment.
If the assembly has an adjustment mechanism, check that it can still be operated after installation.
6. Check the Wheel's Rotation
Before putting the door back into the opening, turn the wheel by hand if it is accessible.
Notice how it feels. It should rotate without obvious catching, grinding, or sideways movement. Check that the wheel is seated correctly and that the assembly does not shift loosely in its housing.
A problem noticed now is easier to address than one discovered after the door has been reinstalled.
Putting the Door Back and Adjusting Its Position
Reinstalling the panel takes a little patience. The new rollers need to land on the track correctly, and the door should sit securely within the frame.
7. Return the Panel to the Opening
Lift the door into position and guide its upper edge into the appropriate part of the frame. Raise the panel enough to bring the lower rollers over the track, then lower it gently into place.
Check that both rollers are seated on the running surface. Avoid dropping the panel or pushing it sideways to make it fit.
If the door seems unusually loose or difficult to position, check that the upper edge and lower rollers are sitting where they should.
8. Adjust the Roller Height
Use the adjustment screws to bring the panel into alignment. Make small changes and check the door after each one.
The goal is a door that sits correctly in the frame and moves without scraping or binding. If one side sits lower, the roller positions may need to be balanced.
Do not raise the panel more than necessary. Excessive adjustment can affect the way the door sits in the upper frame and may change the roller's contact with the track.
9. Slide the Door Along the Entire Track
Move the door slowly from one end to the other. Pay attention to changes in resistance, sound, and alignment.
A door that feels smooth in the middle but tight near one end may have a track or frame issue. It is worth checking the whole path rather than making another adjustment based on a single position.
During this check, look for:
- Steady movement without sudden sticking.
- Rollers that turn as the door travels.
- A panel that remains stable.
- No scraping against the frame.
- No unusual clicking or grinding.
- No tendency to lift or slip out of position.
If the door moves differently from one section to another, inspect the track for damage or debris before changing the roller setting again.
When a New Roller Does Not Solve the Problem
A replacement roller can be fitted correctly and still leave the door difficult to move. The cause may be somewhere else in the assembly.
| What You Notice | What May Be Happening |
|---|---|
| Door drags after replacement | Height adjustment or track condition needs attention |
| Panel rocks from side to side | Uneven roller contact or loose fittings |
| Wheel hesitates while moving | Bearing, seating, or contact problem |
| Door binds in one location | Track damage or frame misalignment |
| Roller shifts inside the frame | Mounting or compatibility issue |
| New noise appears | Debris, rubbing, or incorrect positioning |
A dirty track is worth checking early. Sand, leaves, and other debris can interfere with wheel movement and make a new roller seem faulty. Clean the running surface using a method suitable for the door, then test the panel again.
Also inspect the frame and mounting area. A bent section or damaged roller opening may prevent the replacement from sitting correctly.
A Little Maintenance Can Make the Next Inspection Easier
Sliding screen door rollers work in an exposed area where dust and outdoor debris can collect. Periodic cleaning and a quick movement check can help you notice changes before the door becomes difficult to operate.
A simple routine is usually enough:
- Clear loose dirt and debris from the track.
- Look for cracks, chips, flat spots, or uneven wheel wear.
- Check whether the roller housing remains secure.
- Slide the door and listen for new sounds.
- Notice whether the panel still sits evenly in the frame.
Be careful with lubricants. A sticky product on the running surface may collect dirt and create more buildup. Follow the door or component manufacturer's maintenance instructions rather than applying lubricant automatically.
Choosing Rollers for Replacement or Production
For distributors, maintenance providers, and door manufacturers, replacement roller selection involves several connected parts. The wheel profile, bearing arrangement, housing, and mounting interface all affect how the assembly fits and moves.
A useful sourcing discussion starts with the actual door design. Photos, drawings, or a sample can help clarify the required arrangement, especially when the original roller is an older or non-standard part.
Material selection also deserves attention. The intended operating environment, expected use, and track design can influence which wheel construction is appropriate. A component should be assessed as part of the door system rather than as an isolated wheel.
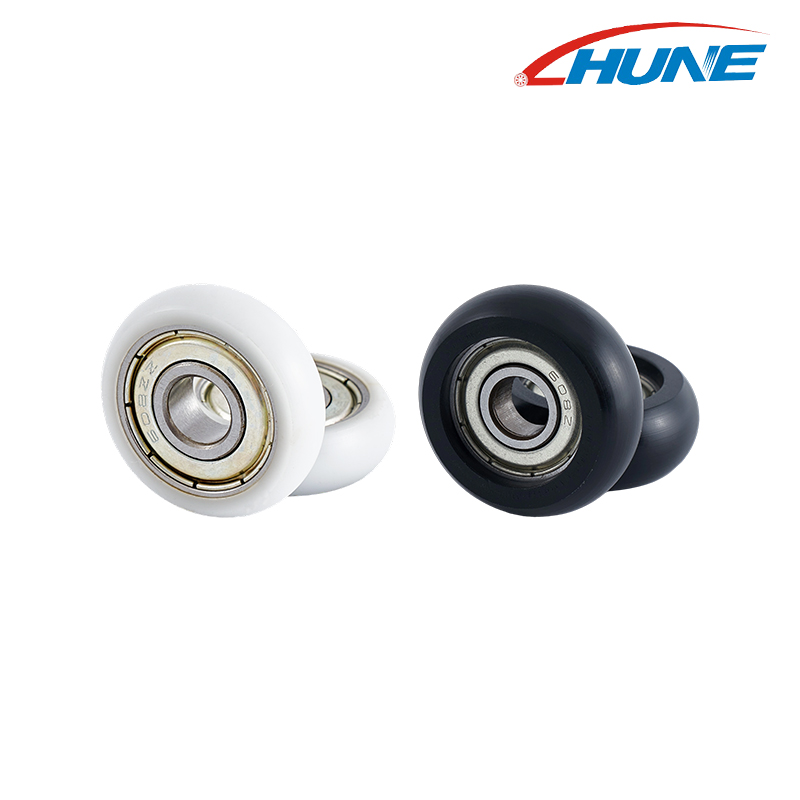
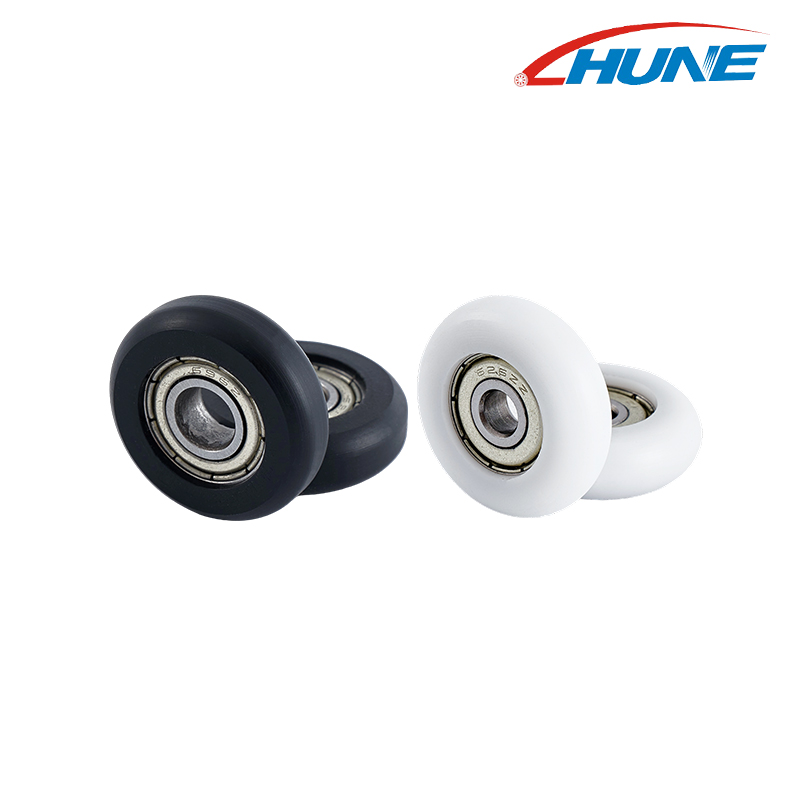
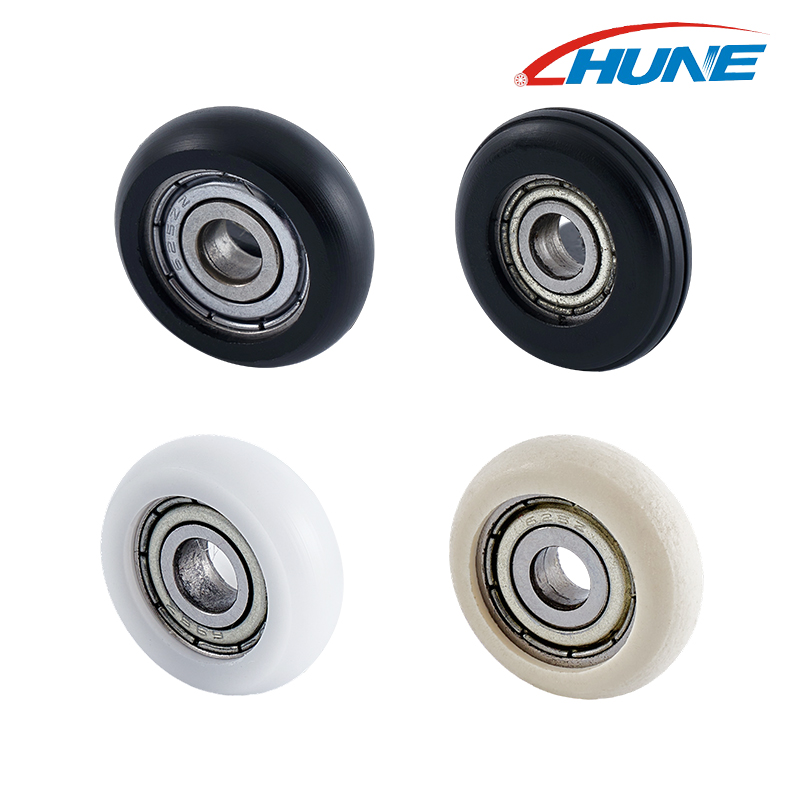
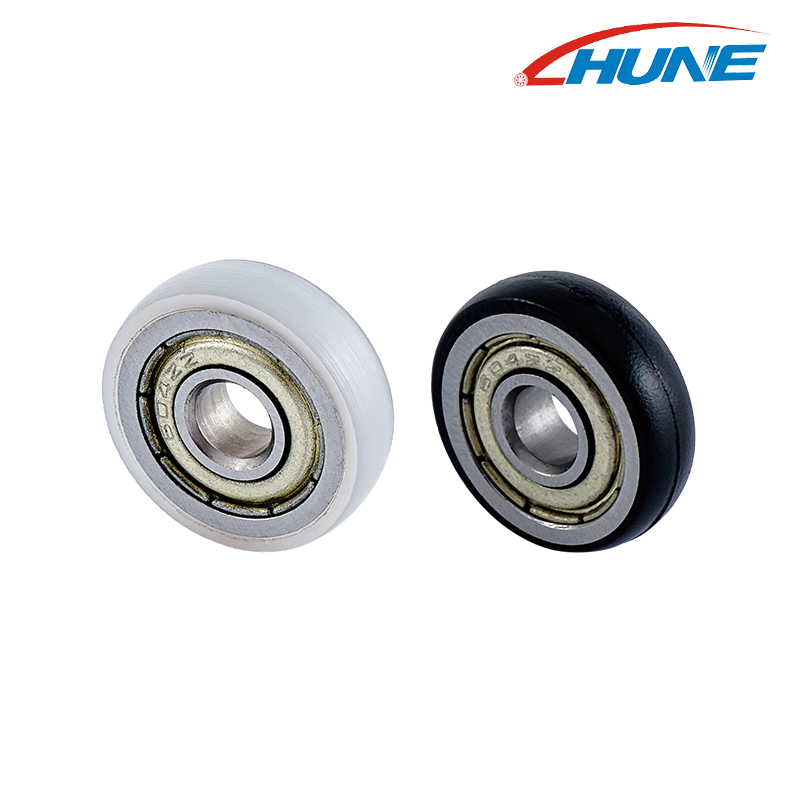
Manufacturers such as Zhejiang Huaneng Micro Bearing Co., Ltd. work with pulley and roller components for different applications, including sliding systems. For a replacement project, sharing the assembly details early can help establish whether a particular roller design is suitable for the intended installation.
Frequently Asked Questions
Do Both Rollers Need to Be Replaced at the Same Time?
Not always. If both rollers show similar wear, replacing them together may help maintain balanced support. If only one is damaged, inspect the other before deciding. The condition of the remaining roller and the door's design should guide the choice.
Can I Replace Only the Wheel?
Some assemblies allow the wheel to be replaced separately. Others are designed as complete roller units. Check the original construction and make sure the replacement wheel is compatible with the bearing and housing.
Why Is the Door Still Hard to Slide?
The track may be dirty or damaged, the panel may be out of alignment, or the new rollers may not be seated or adjusted correctly. Check the full travel path before making further changes.
How Can I Identify the Correct Replacement?
Compare the old roller's profile, housing, mounting features, bearing arrangement, and adjustment method. Photos or a sample part can help clarify the details when the original component is difficult to identify.
Replacing sliding screen door rollers is a practical repair, but the small details make a difference. The new assembly needs to fit the door, sit securely, and follow the track without unnecessary friction.
Take time to identify the original hardware, handle the panel carefully, and compare the replacement before installing it. Once the door is back in place, check its movement along the entire track rather than relying on a quick test near the center.
If the panel still drags or feels uneven, look at the track, frame, and mounting points before continuing to adjust the rollers. A smooth-running door depends on the condition and fit of the whole assembly, not just the wheel.