

 English
 Español
 日本語
日本語Outdoor awnings rely on more moving parts than most people realize. Behind every smooth roll-out and retraction sits a small but important component: the roller bearing. Understanding how these bearings are installed, and why the process matters, helps installers, distributors, and facility managers avoid premature wear, noise, and unnecessary service work.
Why Roller Bearings Matter in Awning Systems
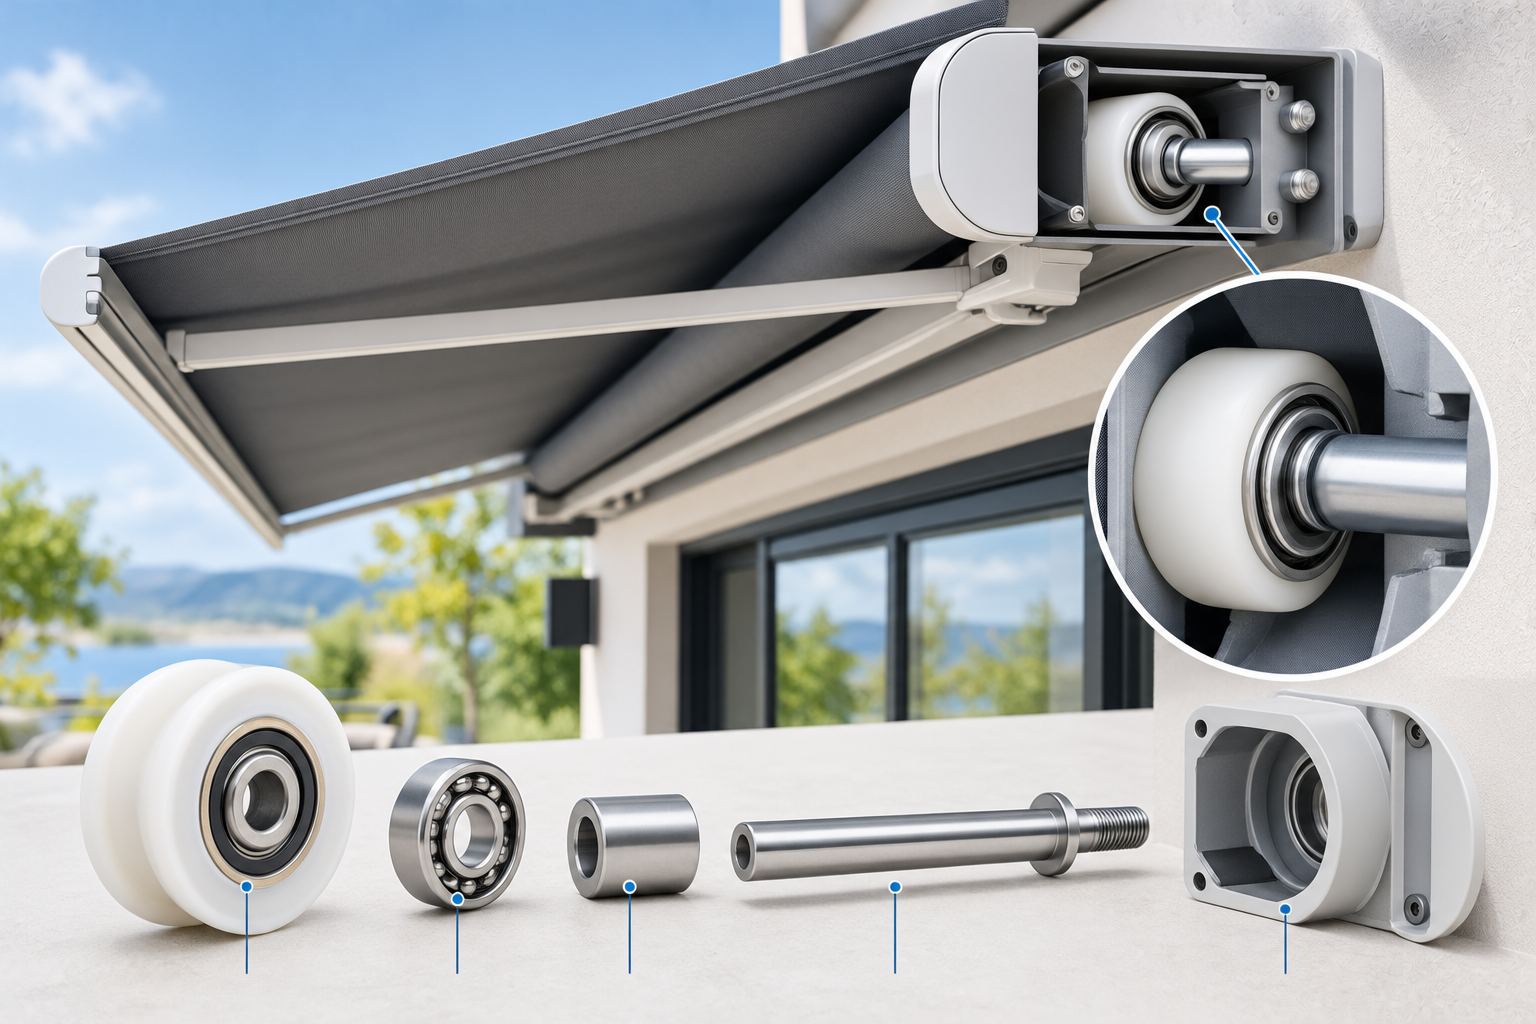
A roller bearing sits inside or beside the awning's roller tube, pulley, or arm joint, allowing rotating parts to move with reduced friction against stationary parts. Without a properly seated bearing, the fabric roller can bind, the crank mechanism can feel stiff, and motorized systems may require more effort to overcome resistance.
In retractable awnings, roof-mounted canopies, and pergola-style shade structures, bearings typically appear in three locations:
- Inside the roller tube end caps, supporting the rotating shaft
- At pulley points where cables or straps guide the fabric
- Within articulating arm joints on folding-arm awning designs
Each location has slightly different load and rotation requirements, which is why bearing selection and installation method vary from one component to another. A bearing that works well in a slow, continuous roll may not perform the same way in a joint that shifts direction repeatedly throughout the day.
Common Bearing Types Used in Awning Hardware
Before installation begins, it helps to know what type of bearing is going into the assembly. The table below summarizes general categories found in outdoor shading products.
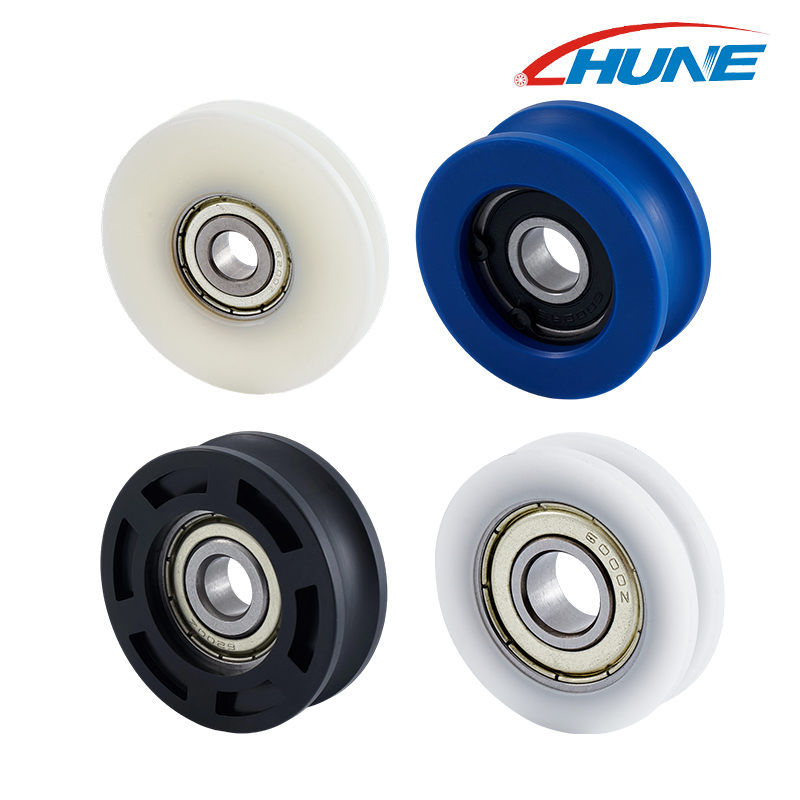
| Bearing Type | Typical Location | General Characteristic |
|---|---|---|
| Deep groove ball bearing | Roller tube end, pulley wheel | Handles radial load and is commonly used with rotating shafts |
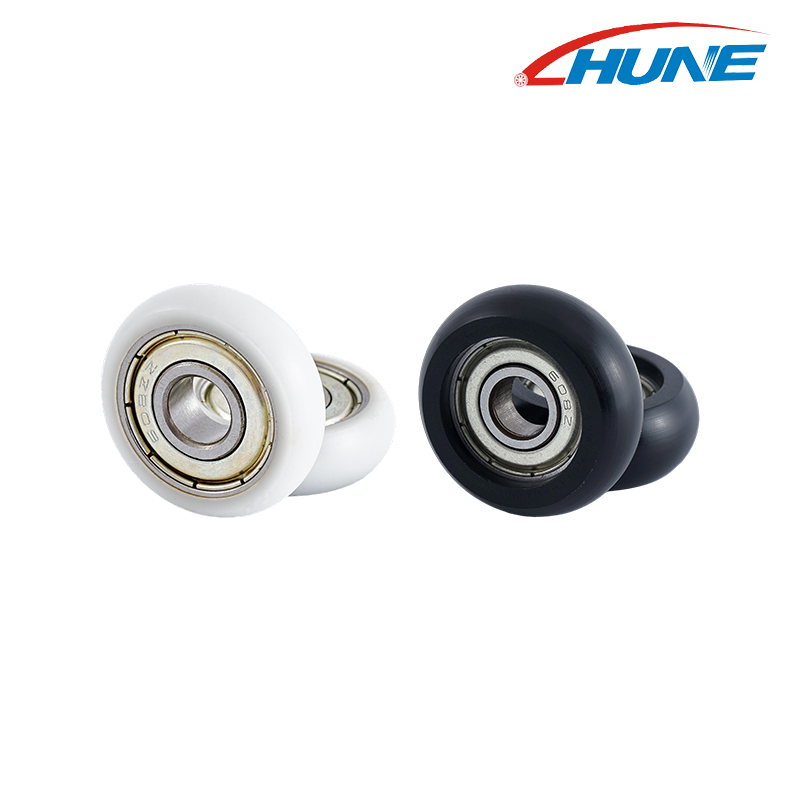
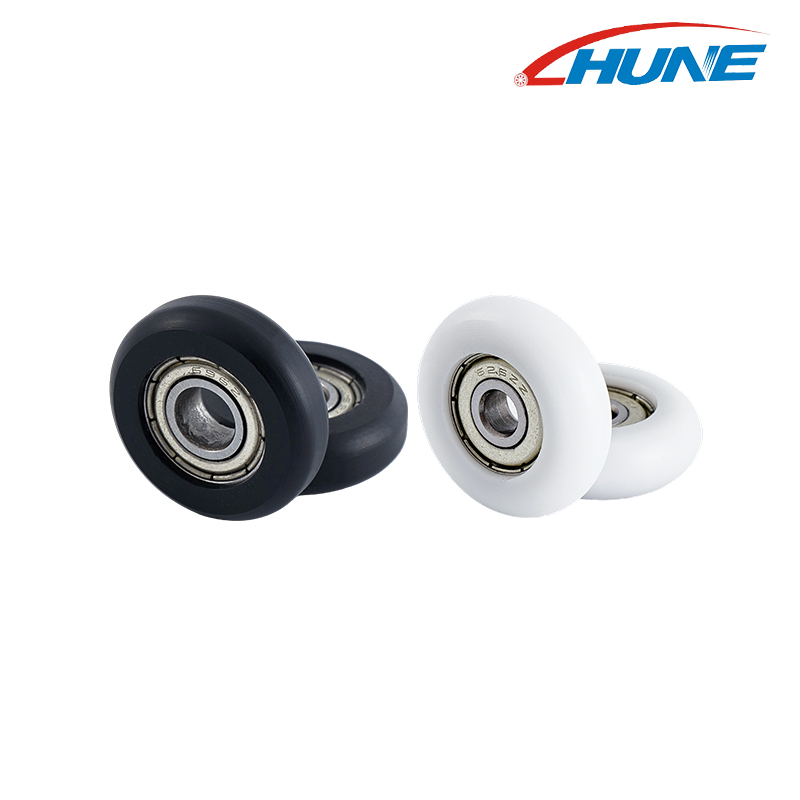
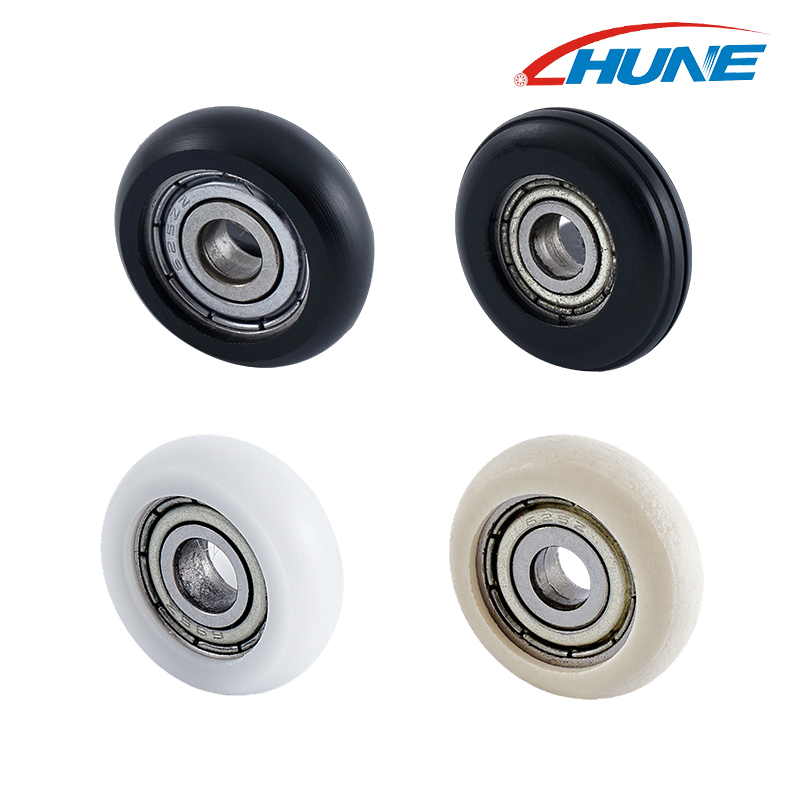
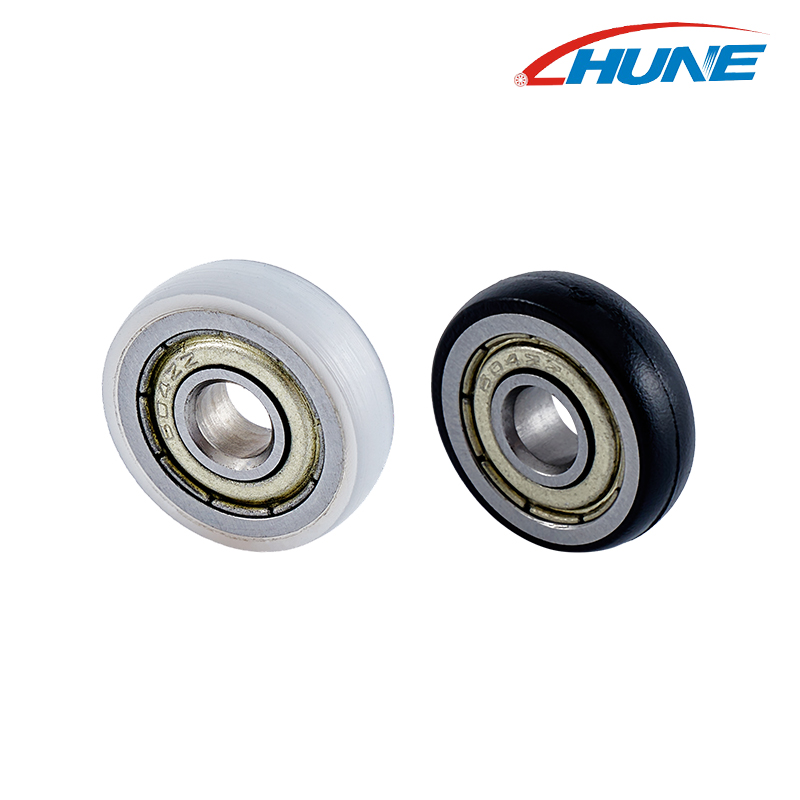
| Plastic-bearing pulley | Cable or strap guide points | Lightweight and helps reduce metal-on-metal contact |
| F-shaped bearing pulley | Compact pulley housings | Suitable for narrow bracket spaces |
| V-groove bearing pulley | Track-guided systems | Helps keep a cable or belt aligned during travel |
These categories are not exhaustive. Manufacturers often adapt bearing housings to match the bracket geometry of a specific awning model, and some structures combine two or three bearing types across a single mechanism.
Step-by-Step Installation Process
Installing a roller bearing is not complicated once the sequence is understood, but skipping steps is a common reason bearings develop problems early. Here is a general outline typically followed by hardware technicians and awning installers.
1. Confirm the Shaft and Housing Dimensions
Before placing any bearing, measure the shaft diameter and the housing bore. A bearing that is too loose may move within the housing under load, while one that is too tight can damage the housing during insertion. This step matters especially when replacing an older awning roller, since housing conditions can change slightly with age, weather exposure, or repeated disassembly during past repairs.
2. Clean the Housing and Shaft Surfaces
Dust, old grease, and debris left inside the tube or bracket can prevent the bearing from seating flat. A dry cloth or soft brush is usually enough for basic cleaning; harsh solvents may be unsuitable for some plastic housings. Taking a few extra minutes here can help prevent alignment and seating problems later.
3. Position the Bearing Squarely
The bearing should be pressed in evenly rather than inserted at an angle. Uneven pressure can contribute to bearing noise and irregular rotation later on. Some installers use a flat block and light, even pressure rather than direct hammer contact, checking alignment from more than one side before applying additional force.
4. Secure Retaining Clips or End Caps
Once seated, the bearing is usually held in place with a retaining clip, snap ring, or end cap, depending on the awning design. This step helps control the bearing's axial position so it does not shift during rotation. A missing or loosely fitted retaining component can allow the bearing to move out of its intended position over time.
5. Test Rotation Before Full Assembly
Before closing the housing or reattaching fabric, spin the shaft by hand. It should turn without grinding, catching, or unusual resistance. Any roughness at this stage is easier to correct before the rest of the awning is reassembled, since accessing the bearing later may require several other components to be removed.
6. Reconnect the Fabric or Arm Mechanism
Only after confirming smooth rotation should the fabric roller, cable, or folding arm be reattached. This order helps technicians avoid mistaking fabric tension or mechanical alignment issues for bearing resistance, which can otherwise lead to unnecessary part replacement.
Tools Commonly Used During Installation
A typical bearing installation does not require specialized industrial equipment, but a few basic tools can make the process more predictable:
- Bearing puller or extraction tool, for removing old bearings without damaging the housing
- Soft-faced mallet, for applying controlled seating pressure
- Calipers, for confirming shaft and bore measurements
- Retaining ring pliers, for snap-ring style housings
- Light machine grease, when appropriate for the bearing and application
Using the correct tool for removal is often more important than the tool used for installation, since forcing an old bearing out with improvised tools can damage the surrounding bracket. In many cases, a damaged bracket creates more repair work than replacing the bearing itself.
Common Installation Mistakes and How They Show Up Later
Installation errors do not always cause immediate problems. Some may appear weeks or months later as noise, drag, or uneven rolling. The table below outlines a few patterns worth watching for.
| Mistake | Delayed Symptom |
|---|---|
| Bearing installed at an angle | Grinding or uneven noise during rotation |
| Wrong bearing size for the housing | Loose movement, rattle, or excessive play |
| Skipped cleaning step | Gritty movement and accelerated wear |
| Missing retaining clip | Bearing gradually moves out of the housing |
| Overtightened bracket | Increased rotational resistance |
Recognizing these patterns helps installers trace a service issue back to its source rather than replacing parts unnecessarily. In some cases, a full bearing replacement is not required; the solution may simply involve reseating an existing bearing correctly.
Signs a Bearing May Need Replacement
Not every unusual sound or slight resistance means a bearing has failed, but a few signs are worth paying closer attention to:
- A rolling motion that feels slightly uneven, as though the tube is not spinning on a consistent axis.
- A faint grinding or clicking sound that appears only at certain points during extension or retraction.
- Visible play when gently checking the roller tube or arm joint by hand without applying excessive force through the fabric.
- A motorized awning that appears to require more effort than usual to start moving, even before reaching full extension.
None of these signs automatically confirms bearing failure. However, identifying them early can make it easier to determine whether the issue involves the bearing, mounting structure, alignment, or another part of the mechanism.
Maintenance Considerations After Installation
Once a bearing is installed correctly, ongoing maintenance is generally straightforward, but a few habits can help maintain consistent operation:
- Periodically check for dust buildup near roller tube ends, especially in outdoor environments with pollen or sand exposure.
- Listen for changes in rotation sound during regular use; a noticeable change from quiet rolling to a faint hum or rough sound may indicate developing wear.
- Avoid over-lubrication, since excess grease can attract debris that may work its way toward the bearing race.
- Inspect retaining clips periodically, particularly before and after periods of heavy wind exposure when arms and joints may experience repeated movement.
- Wipe down exposed metal housing after periods of heavy rain, since trapped moisture can contribute to corrosion around the bearing seat.
For commercial installations with frequent daily cycling, a brief visual and operational check every few months can be a practical maintenance habit rather than waiting for a noticeable operating problem to appear.
Climate and Seasonal Factors Worth Considering
Outdoor awnings face a wider range of conditions than most indoor mechanical components, and this can affect how bearings behave over time. In humid or coastal climates, moisture exposure may require more frequent inspection, since salt air and condensation can contribute to gradual corrosion around exposed metal components. In drier, dustier climates, particle buildup may become a more relevant concern, making cleaning intervals important.
Temperature changes can also affect the relationship between components. A bearing that seats smoothly during installation may experience slightly different conditions as surrounding materials expand or contract with seasonal temperature changes. This is one reason installers may recheck rotation during routine maintenance rather than assuming the initial fit will remain unchanged under every operating condition.
Matching Bearings to Awning Design
Not every awning uses the same bearing configuration, and matching the bearing arrangement to the mechanical structure matters as much as the installation technique itself.
Retractable fabric awnings generally rely on tube-end bearings that support continuous rotation. Folding-arm systems depend more on pivot bearings within the arm joints, which experience repeated back-and-forth movement rather than continuous spinning. Track-guided or pergola-style canopies may use pulley-style bearings that help keep a cable or belt aligned along a fixed path.
This distinction matters because a bearing designed around one motion pattern may not be appropriate for another application. Suppliers working with awning hardware typically consider the bearing location, housing geometry, movement pattern, shaft arrangement, and expected operating conditions when discussing replacement components.
Key Takeaways
- Confirm the shaft and housing dimensions before installing a replacement bearing.
- Clean the housing and shaft surfaces before seating the bearing.
- Install the bearing squarely and apply pressure evenly.
- Check retaining clips, snap rings, or end caps before completing assembly.
- Test rotation before reconnecting the fabric or arm mechanism.
- Use suitable removal and installation tools to avoid damaging the housing.
- Consider the awning's movement pattern when selecting a bearing configuration.
- Regular inspection can help identify unusual noise, resistance, play, or alignment issues before they develop into larger maintenance problems.
Roller bearing installation in outdoor awning components is a process built on careful measurement, clean surfaces, even seating pressure, and correct retention. None of these steps are complicated on their own, but skipping any one of them can affect bearing operation and the working condition of the surrounding awning mechanism.
Whether working on a single residential retractable awning or maintaining a group of commercial units, following a consistent installation sequence can make inspection and maintenance easier. The same principle applies when sourcing replacement bearings or pulley assemblies: understanding the housing design, shaft arrangement, movement pattern, and surrounding structure provides a clearer basis for selecting a suitable component.
For installers sourcing replacement bearings or pulley assemblies, working with a supplier familiar with awning-specific housing designs can make the fitting process more predictable, since bracket geometry and bearing arrangements can vary across different awning systems. Careful attention during installation, combined with reasonable seasonal checks, can help keep the mechanism operating smoothly during everyday use.